One of the most wanted additions to a model railway layout is a water scene. A river, lake or even sea waterfront are all popular additions however they have always been an unpleasant and messy task to add to a model railway.
Luckily for us modellers there are now many different options to add water to our model railways. We will explore some of the options available on this page.
Planning the Water Scene on your Model Railway
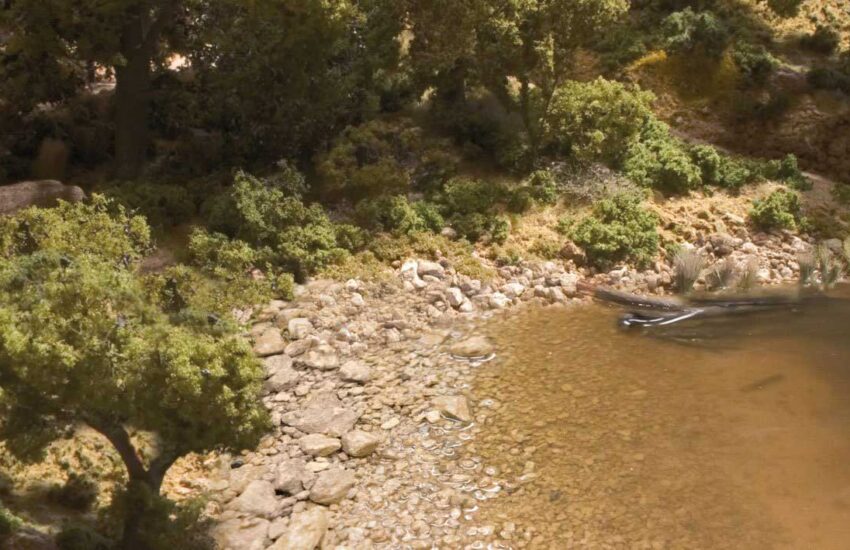
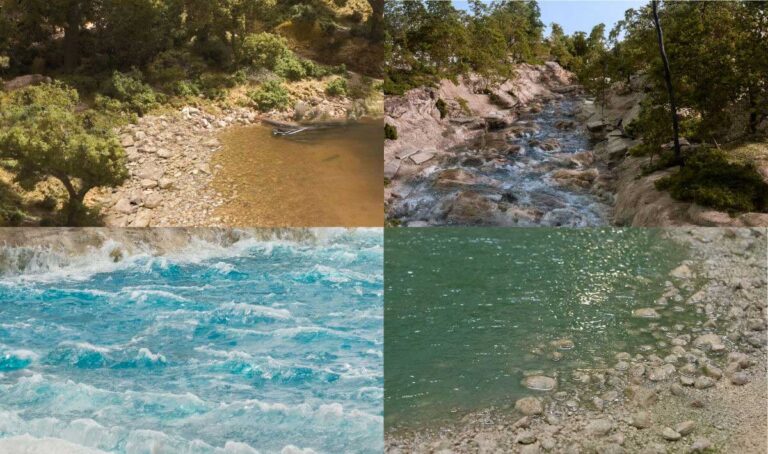
Different bodies of water will require slightly different techniques to achieve a realistic look. A fast-flowing river running through rocks will have rough, choppy water on the surface. A countryside lake would mostly likely have a still or small waves on the surface.
The surrounding scenery will also be different for each. Have a look a various rivers and lakes and notice the lie of the rocks and the edges of each. Model all the surrounding scenery first before attempting to lay the water. Once the water is in place, the scenery in and around the water will be hard to alter.
The next step before adding the water is too watertight the area and paint the area where the body of water will be. It is a misconception that water in lakes and rivers is blue. Look at some pictures of rivers and lakes to get an idea. They usually take on the same colour of the surrounding landscape, greys, greens, and browns. When painting remember to add depth to the area of water by using darker colours for deep water.

With the pour on water products, take your time. Patience is key! For the instructions. Add shallow layers and allow each layer to dry before adding more depth. Once the main body of water has been set, add the surface layer, and create ripples and waves.
What to use for Modelling Water Scenes?
Woodland Scenics Water Products
Creating waters scenes as mentioned can be notoriously difficult but as modelling has become more popular better and more refined products have come onto the market. The leader in model scenery, Woodland Scenics, has a whole range of products for modelling water.
From undercoats and water tints to surface waters to create motion and waves. They also have great guides on Youtube to take your step by step through each part of the process. Following their tips and tricks it is hard to go wrong.
Toilet Paper and Glue to Create Water.
A more affordable method of creating water on your railway layout is by using toilet paper and glue! This technique is simple and thanks to the cost, you can practice the technique until you get it right. On the video opposite by Marklin of Sweden each step is shown in detail.
It really is as simple as taking small pieces of toiler paper, dabbing it with a paint brush covered in glue. Leave it to dry before painting and covering with a layer of topcoat.
Using Resins to Create an Ocean
The use of resins for creating water scenes has increased recently as they become more accessible and affordable. Luke from Geek Gaming Scenics has a tutorial on using resins to create an amazing model ocean scene.
If you decide to follow Luke’s method, I recommend practicing away from your main baseboard until you have perfect the technique. As once the resin is laid, getting it up after any mistakes will be a tough task.
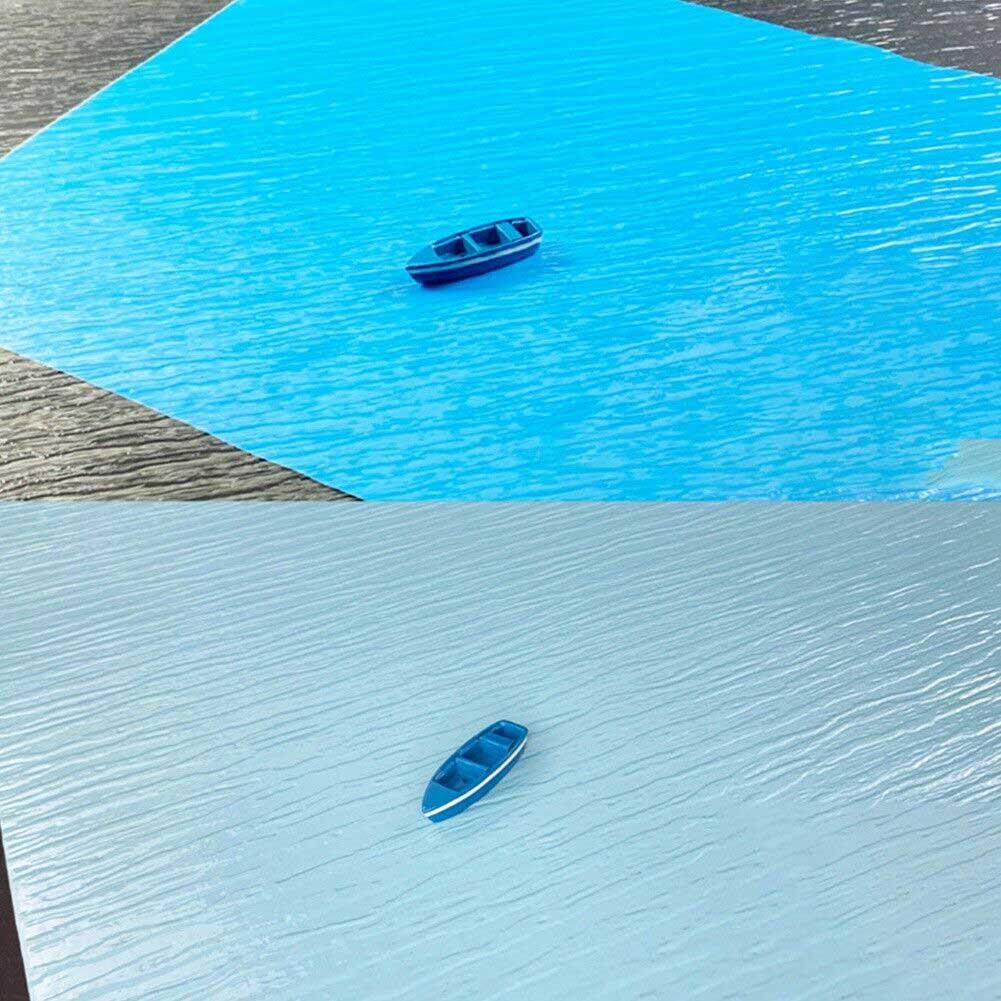
Ripple Effect Acrylic Sheet
We saved the simplest method until the end. Using ripple effect acrylic sheets can create very realistic looing bodies of water. They are more suited to larger areas of water, such as lakes and seas. For this method you only have to paint the base a realistic water colour for your scene and then cut and place the acrylic sheet over the top!